Do you want to make a successful travel blog but don’t know where to start? You searched for how to make a travel blog in 2021 or How to write a travel blog, which means you are really serious about travel blogging.
Before moving forward, let me tell you something, blogging is a very easy thing to do (thanks to WordPress), but you have to have some patience as blogs don’t work overnight. And Forget about making money from blogs and focus on making quality content. Quality content always brings money.

BTW, you can check these Top 10 places to visit after this lockdown in India that I’ve curated specially for the travelers. So, if you’re ready to learn how to make a travel blog, then follow these steps:-
Before actually learning how to start a travel blog, you need to ask some questions yourself.
After answering all these questions to yourself, now you have a clear picture in your mind about your travel blog.
Now as you have a clear picture in mind of your travel blog we can move forward towards picking a name.
Picking a name for your travel blog can be a very challenging task, you should always keep some things in mind such as:-

When you are ready with your travel blog’s name, get it registered online, which is known as Domain Name. You have several options to choose from such as GoDaddy, BigRock, Namecheap, etc for your travel blog domain in India.
After setting up the domain for your travel blog, now you need web hosting. So hosting is a space where your travel blog will stay, where you are going to publish your content.
Now there are several options for your travel blog hosting in India, like Bluehost, Siteground, Hostgator, Hostinger. You need to figure out which hosting will best work for you, as every other company has its own pros and cons.
For example – As you can see the price difference between all of them. The Bluehost host has the best services, the Siteground has the best reputation, the HostGator’s overall performance is good, while Hostinger has the cheapest plans to go with. Hostinger can be the best option for your travel blog in India.
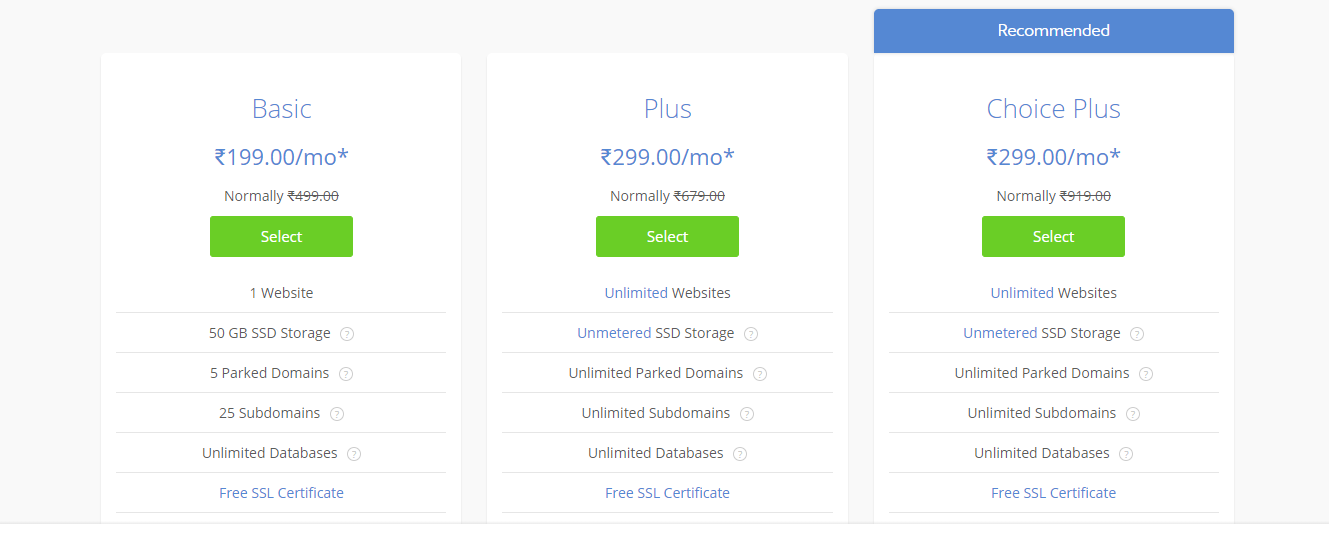
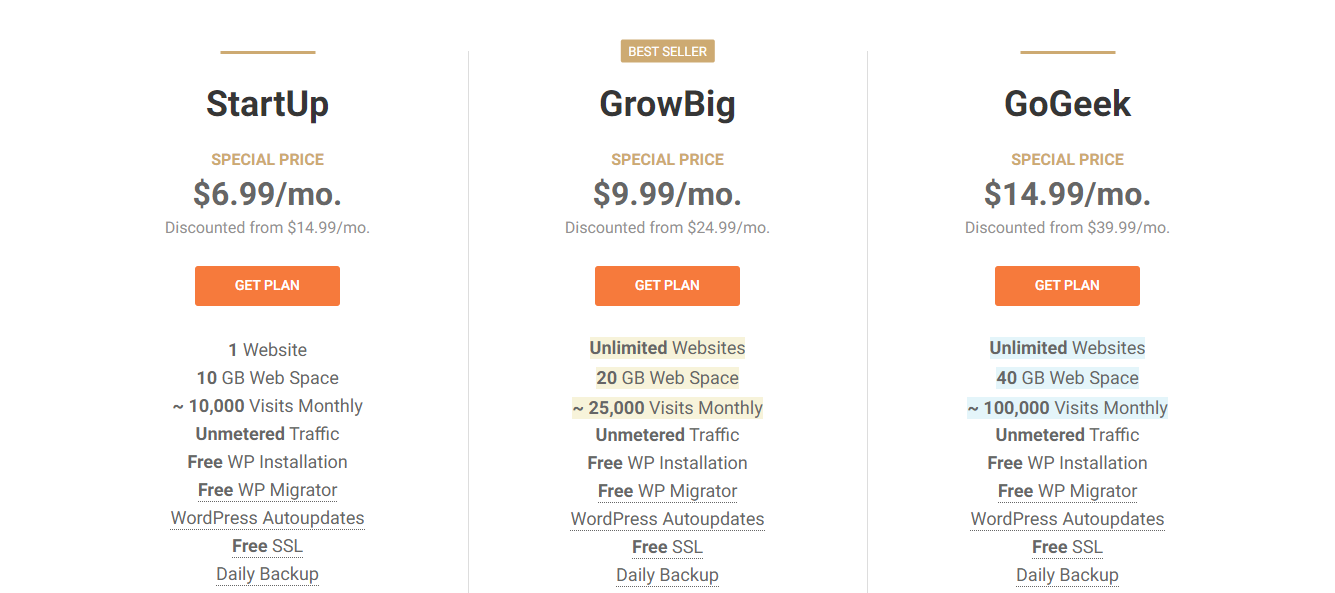

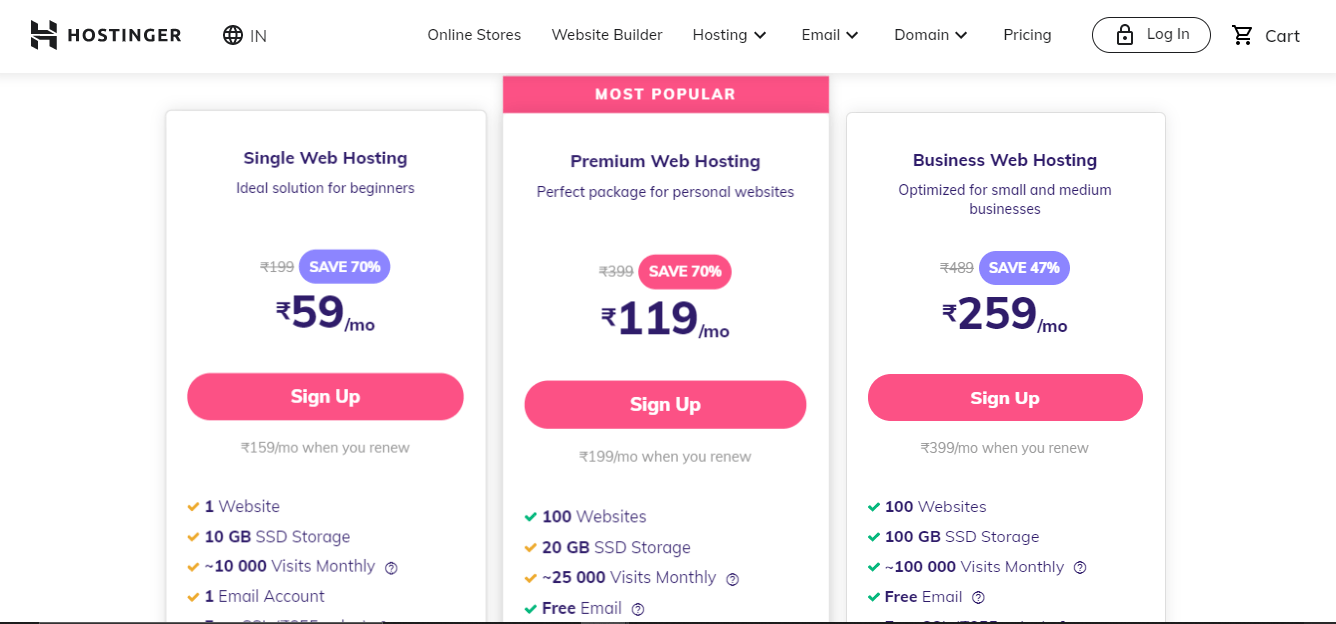
Now you can see there are some plans which offer domain name as well. So you need to do some calculations before purchasing the domain and hosting for your travel blog. If you see a plan which offers domain + hosting in a single plan and that plan is in your budget, you can go for that option as well. And also you can purchase the domain and hosting separately from different websites if you want. For example – you can buy the domain name from GoDaddy and hosting from Hostinger.
After comparing all the different plans of different platforms, you might have a clear option to go with. Like I chose the Hostinger for my travel blog, as it has the cheapest plans in India, so further I will tell you all the things that should be followed to make an awesome blog site.
Once you’ve signed up for hosting, you need to install WordPress. WordPress is a platform where you will be writing posts and sharing content.
Installing WordPress for your travel blog is not a very hard task. After purchasing your hosting, you must have got your hpanel or cpanel where you can manage all your web files and everything related to your hosting.
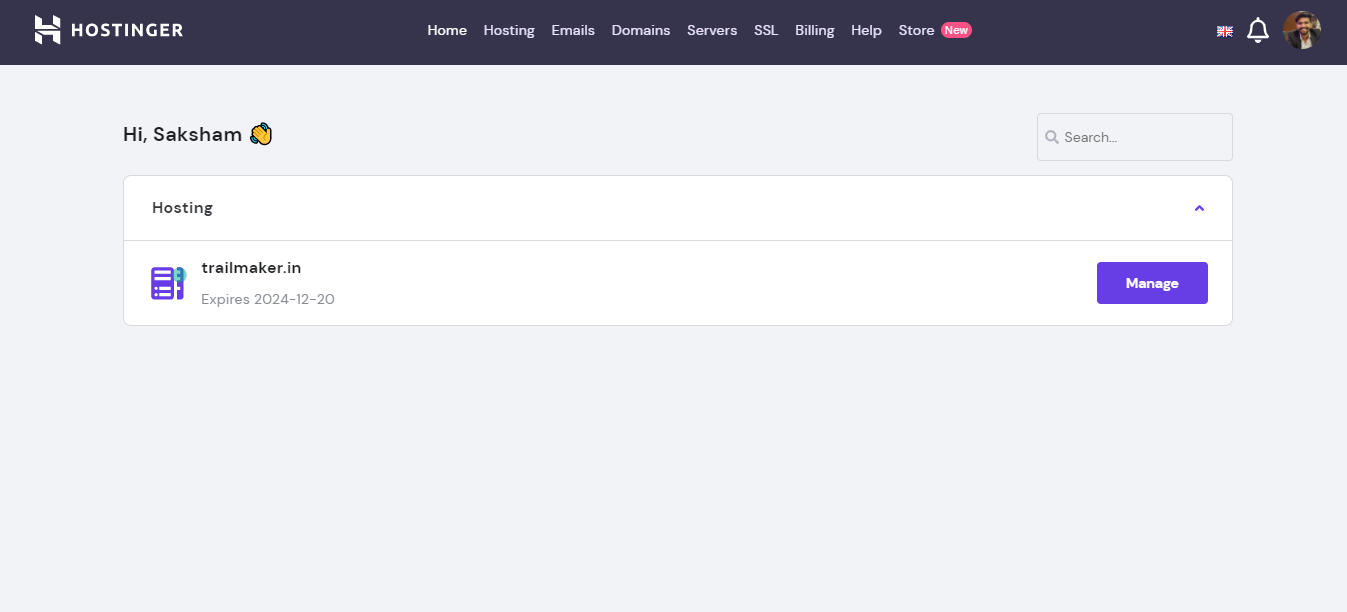
In your cpanel dashboard, you will find an option to install WordPress. In hostinger’s hpanel it’s under the Auto Installer.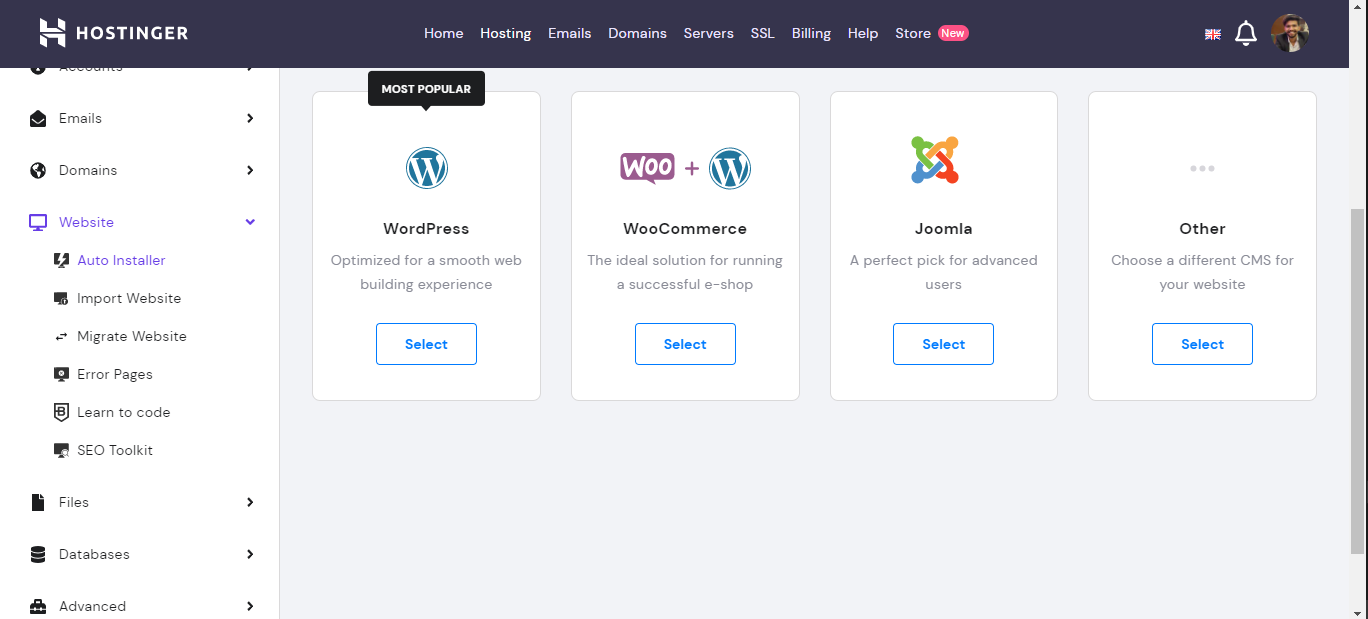
Now is the time to make your site look good. Your website design (theme) is the first impression to your readers, so you have to make sure it looks good enough to stay on that page for some time. Here are a couple of options for finding a theme:-
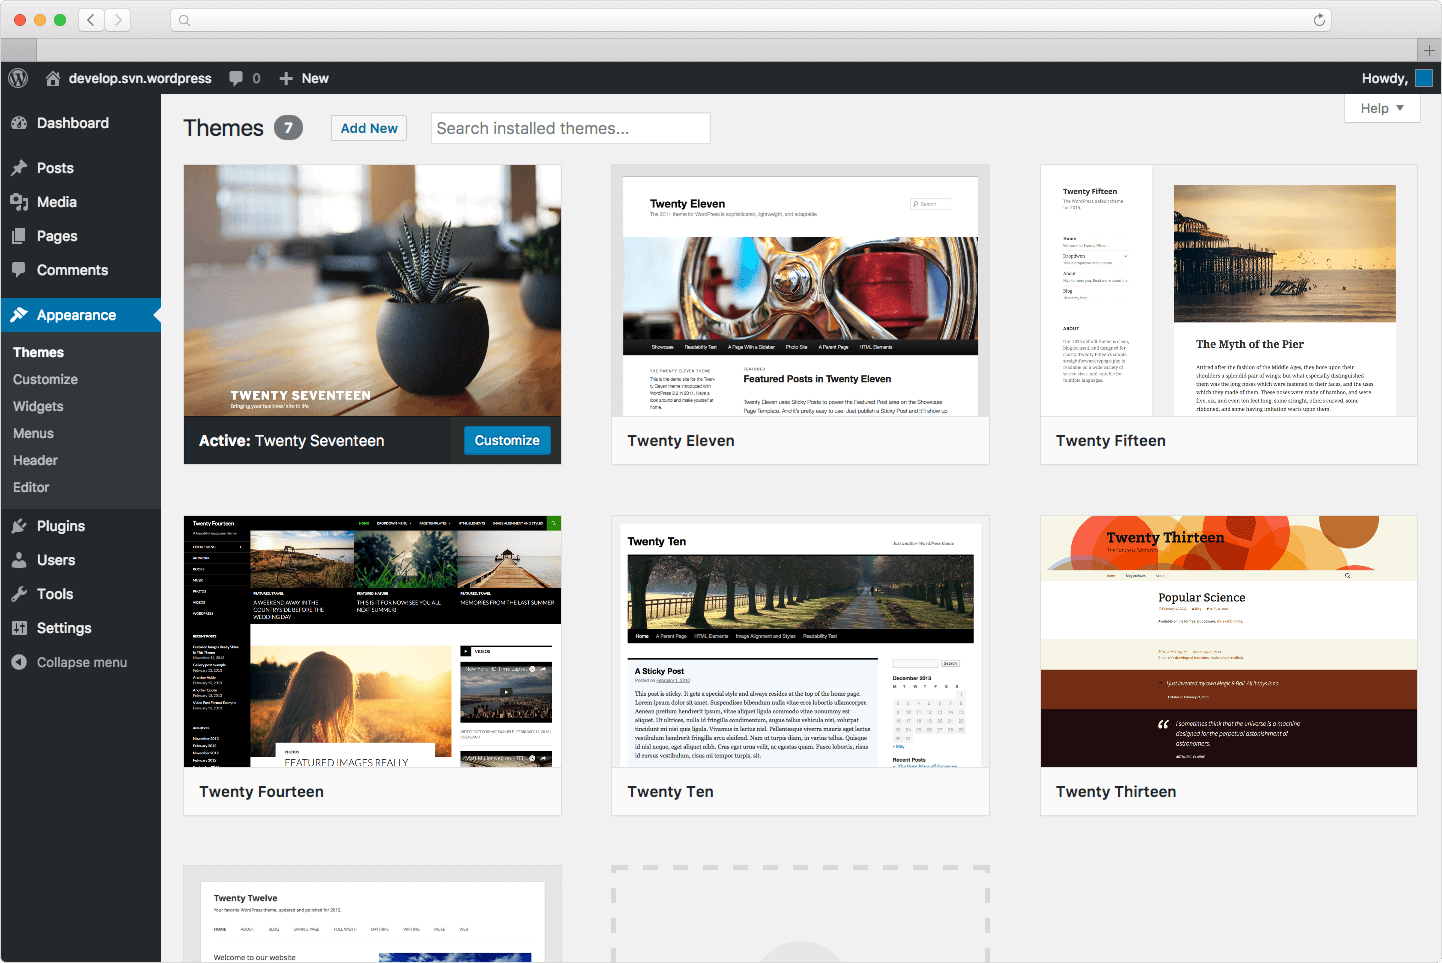
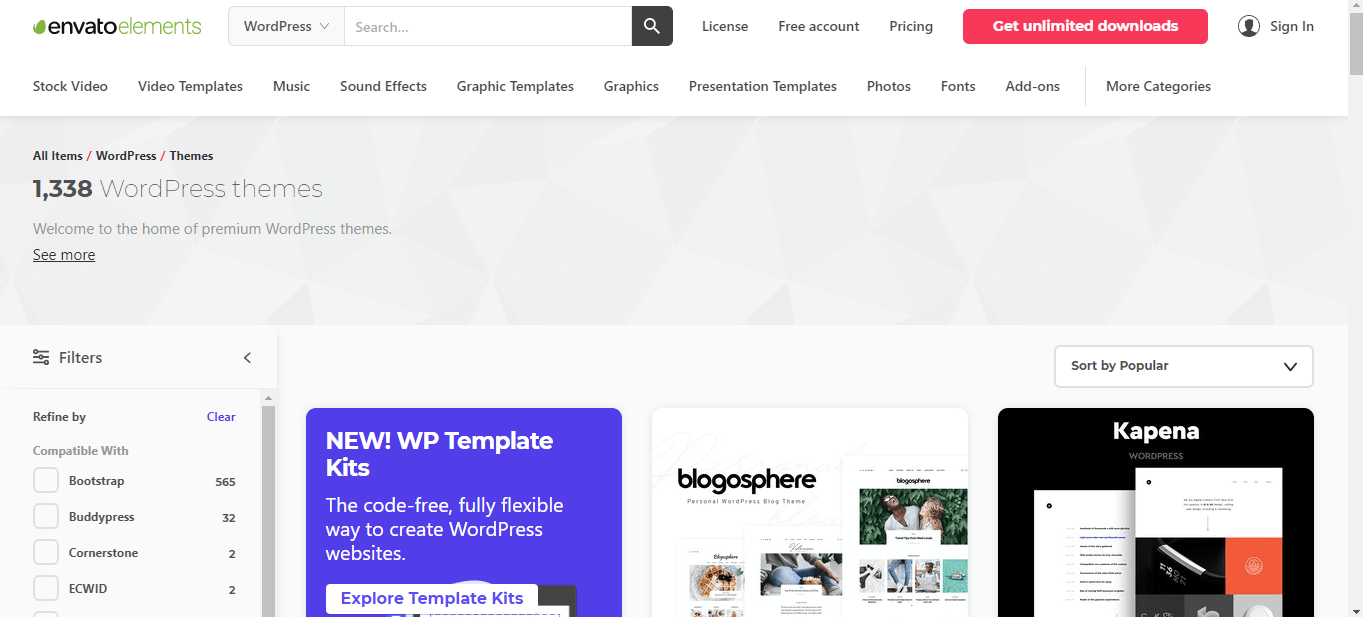

After choosing the free theme or paid theme you will be guided by the theme provide with instructions to install your theme in your travel blog.
After setting up the theme for your travel blog, I recommend you get yourself a logo that represents your brand.
As you might have seen, in this era there is no brand without a logo. Because the logo represents the brand itself. So, you may have to get yourself a logo for your travel blog that is going to define your brand.
You can make a logo yourself by using some of the online tools that will help you to make a logo or you can hire a freelancer to make a logo. Here are some options you can go with:-

At this point, you have a clean-looking travel blog site. So, it’s time to install the WordPress plugins. Plugins make life easier to do most of the stuff. I’ve curated some of the essential plugins that you’ll need to ease up handle your travel blog.
Head over to the Plugins section in the WordPress dashboard and click on “add new”. Here you can search for the following plugins:
When you have everything ready with you. Now you just have to explore the places and write your travel blog about your experience, and whatever you have thought you are going to write.
Just a friendly reminder that I believe in you. Go get ‘em!
44 Responses
Grt work saksham.
seriously very informative
thanks man!!✌🏻✌🏻
Thanks for reading this and for giving your feedback.😊
Insightful blog, Great work Saksham
Thank you so much for reading the blog.😀
Best dear
Best dear
Thank you😊
I found this really helpful. The most easiest way to explain a beginner. Well done , Saksham Bhardwaj.
Kudos to you.❤️
Thanks for taking your time out to read the blog and giving your review on it.🥰
Looking forward to more Blogs.Guruji bless you.❤️❤️
Will upload a new blog soon.
Informative ✨
Thank you very much.😊
Very useful information with amazing write-up.
Thank you very much for the appreciation.
Great 👌👌
Thanks😊
quality content that’s all need….well done buddy!!
Thank you very much. Glad you liked it.😊
Very useful content👍🏻 keep the good work up 🤟😎. Looking forward for some more blogs🙋
Thank you very much. Will upload new blogs soon, stay connected.😊
The article was really insightful. Looking forward to more blogs.
Thank you very much for reading and commenting.
Wowww, very nice, very informative.
Thank you very much.😊
There is definately a lot to know about this topic. I like all the points you made. Bernette Haydon Sherl Zelma Denis Amaryl
I’m glad you liked it.
I have read so many posts about the blogger lovers but this piece of writing is really a fastidious article, keep it up.| Casi Care Abebi
Thank you very much, mate. I really appreciate the time you’ve put into the comment.
Работа в Перекрёстке Сочи
Wow, amazing blog layout! How long have you been blogging for?
you made blogging look easy. The overall look of your site is magnificent, let alone the content!
Here is my webpage … marijuana gumies
Thanks for the appreciation. I’ve been blogging for roughly about 6 months.
Hey! I know this is kind of off topic but I was wondering which blog platform are you using for
this site? I’m getting fed up of WordPress because I’ve had issues with hackers
and I’m looking at options for another platform. I would be fantastic if
you could point me in the direction of a good platform.
Review my site best THC vape carts
Hey! Thanks for reaching out. I use WordPress for blogging. But I’d rather recommend you to go with the HTML site if you are familiar with the coding and stuff!
This paragraph will assist the internet users in creating a new website or even a weblog from start to end. Thanks for such an informative blog.
I enjoy what you guys tend to be up too. Such clever work and coverage!
Keep up the fantastic works guys I’ve included you guys to my blogroll.
Feel free to visit my blog – Best THC Gummies – http://www.kitsapdailynews.com,
I am actually thankful to the holder of this website who has shared this impressive article at at this
place.
I like the valuable information you supply on your articles.
I will bookmark your blog and take a look at again right here frequently.
I am quite sure I will learn lots of new stuff right
right here! Best of luck for the following!
Great, Thanks!
You have done a great job on this article. It’s very readable and highly intelligent. You have even managed to make it understandable and easy to read. You have some real writing talent. Thank you.
Thank you very much.